Wednesday, March 30, 2016

Skilsaw and guide rail review, plus DIY Plywood shelf


A few days ago Skil Europe send me a circular saw and a guide rail, in order to test it out and make something with it.

More details on the tools here:


You can also check that hashtag in social media: #Skilhelps


First of all I assembled the saw. I also made a test cut to calibrate the saw's guide. This way you know where your blade ends and can mark the cutting line easier.

In order for the saw to lock on the rail you need to mount it saw on a base.

Then I had to make a 90 degree cut and a 45 degree cut using the rail. This way you establish the cutting lines (on the grey areas of the rail). Now every time you want to make a cut you position the edge of the grey plastic on your pencil mark.

Now that the skilsaw and the rail are set up, time to make something.

I decided to make a shelf for my shop.

I made the rip cuts first on a piece of 8mm birch plywood. I made two cuts in one pass. The guide rail also comes with it's own clamps. 

I use the two cut pieces as a reference and set my rails up for the cross cuts.

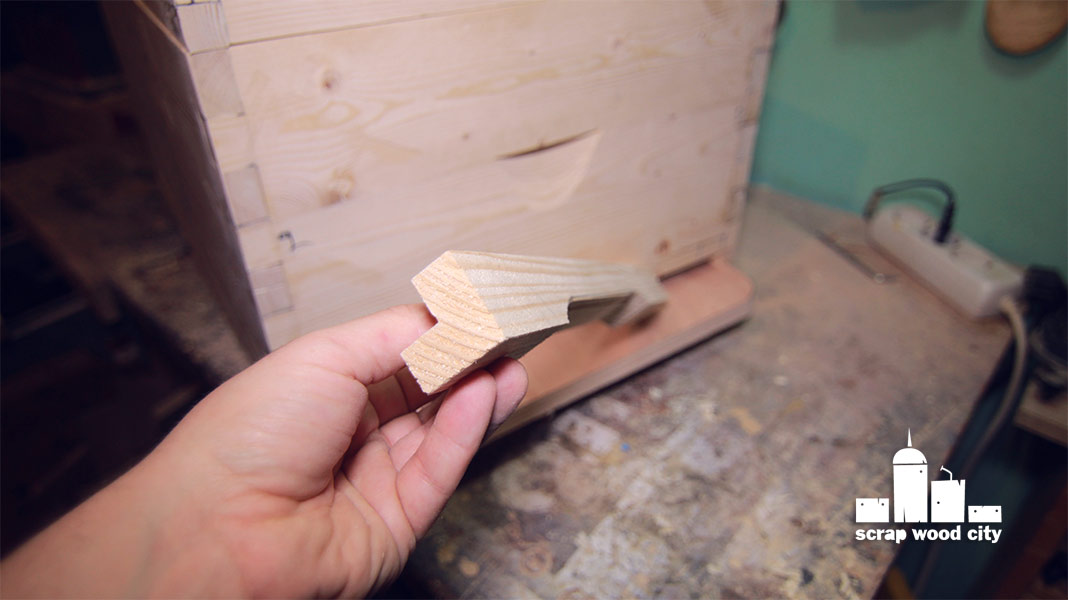
The self is hanged on the wall with a french cleat. To make that I made a 45 degree cut using the other side of my rail. This way I have two pieces with 45 degree edges.

I glued and nailed all the pieces together and sanded the the self.

I drilled holes on the french cleat using my drill press. I also counter sinked them.

I used all the pieces with a spirit level to mark the holes on the wall. 

I made the holes for the upat on the wall. I hammered the upat in and screwed the cleat in place. 

I hanged the shelf on the wall.


Overall, I really liked the saw and the guides. They are really value for money tools.

Using a skilsaw and guide rail you can do almost any cut without having a table saw or a miter saw.

Really happy to have them in my toolbox!


Saturday, March 26, 2016

How to make a mini wooden toy canon


Everything begun from a scrap piece of pine dowel.

I cut the dowel to size using a miter box and a saw.

I then used a center finding jig to find the center of the dowel so I can mount it straight on my home made drill lathe.

Then using mostly a skew chisel I turned the basic  shape of the canon’s barrel. I sanded the piece while it was still turning on the lathe.

I made a jig from two wooden blocks, so I can mount the barrel on my vise straight. That way I made a straight pilot hole on my drill press, and then extended it with a larger bit using my drill.

I also made a smaller hole to the back.

The mechanism of my canon is just two zip ties and a spring.

For the canon’s base I cut a few templates, glued them in a piece of plywood with spray adhesive, and cut them out on my scroll saw.

I used WD-40 to remove the patterns from the wood and sanded the pieces. I joined the base’s pieces with glue and nails. The wheels are connected with a brass rod.

The barrel is mounted on the base with two screws.

I also added a few drops of super glue to reinforce the joints between the brass rod and the wheels.

To make ammo for my cannon, I cut a few 6mm dowels in half, using my bandsaw.!


I hope you like it!


Friday, March 18, 2016

How to make a DIY beehive part A


I wanted to make a beehive, for some time now. Finally a friend ( and bee keeper ) brought me an original beehive so I can measure it and make my own version.

First of all I need to make a couple of solid wood panels. To do that I joined spruce boards using my biscuit jointer, biscuits and glue.

I then cut the panels roughly using my circular saw. I also used my table saw to cut the sides of the beehive to size. For the cross cuts I used my homemade sled.

Using a block plane I cleaned any excess glue drips. I also used my orbital sander.

The sides of a beehive are traditionally joined with box joints. To make them I first used the boards themselves to mark the depth of the joints. I then marked the pieces I wanted to remove and made the first cuts on the bandsaw. I then used a sharp chisel to fine tune the cuts. 

I used the first side to mark the other one and repeated the process. It is important to have a very sharp chisel because your cutting end grain here. It is also important to make the cuts with the bandsaw leaving enough material to remove with the chisel. This way you can achieve a nice tight joint.

On the two sides I made a groove for the frames to sit. To make the groove I made repeated cuts on the table saw, while moving the fence back after each cut.

For the beehive handle holes I made a special jig for the circular saw, that cuts at an angle.

I glued the sides of the body. To fill the gaps on the joints I added glue and then sanded over it to cover the glue with dust.

I made the frame of the bottom using my table saw.

The bottom Is made of plywood, I cut the pieces to size using my circular saw and my table saw. For the curvy parts I used the bandsaw. I joined the bottom parts with biscuits. 

I also made the legs of the bottom and the opening. The opening slides on a groove which is cut from the legs sides. For the opening’s handle I used my hole saw on the drill press to cut out a circle.

The legs are screwed in place. I predrilled pilot holes and counter sinked them on the drill press. I also screwed in a stop block to act as a stopper for the bottom’s door.

Now it was time to make the beehive’s top. I cut the pieces to size on my table saw and joined them again with box joints.

I used a hole saw and drilled holes at an angle using my drill. I also set my jigsaw at an angle to make the rest of the cuts. I did that to make the ventilation holes at the top. Those holes must be at an angle, in order for rain water to run outside the hive. I also used a chisel to fine tune the holes.

I glued the top’s sides and then glued the top panel.

Using my table saw I made the beehive’s door. The door serves two purposes. When it is in the first position it allows the bees to enter or leave the hive. 

When the beekeeper want to move the hive, he sets the door to the second position. That way the bees cannot leave but air can still enter in order for the hive to remain well ventilated.

To make the air hole, I clamped the door on my table saw’s fence and slowly raised the blade in order to make a slot on the door.

I used my bandsaw to cut the extra material of the top. I used my router upside down and a flush trim bit, to cut the top flush with the sides.

At this point most of the woodworking had been done. Now I have to install the metal parts, sand it and finish it. I also have to make the frames.


That’s it for now, I hope you liked it!


Wednesday, March 9, 2016

How to make an electric fretless bass guitar


I wanted to make a bass for a long time now. I finally found a cheap bass pickup online and decided to make it.

My design is a hybrid instrument between an electric bass and a contrabass.

I begun by glueing and clamping two long pieces of wood.

After the glue dried, I planed the pieces as flat as I could using a hand plane.

I made a small mock up just to have an idea of what I was going for.

I used an electric bass as reference to take a few measurements.

I then made a few cuts on my bandsaw. The piece was to large for my small bandsaw, so I finished my cuts with my jigsaw.

I cleared the saw marks with my hand plane and a spokeshave.

I made the neck and body shaping, using mostly my spokeshave.

I used my coping saw to make a few round cuts.

I then sanded everything using several scrap pieces as sanding blocks.

I needed to make a mortise for the potentiometer and the input jack.

I removed most of the material on my drill press using a spade bit.

I then made a few stop cuts at the edges and used a chisel to clear the mortise. I repeated that process a few times, until I reached the desired depth.

Using a long drill bit I made a hole that connected the mortise with the pickup through the wires.

I used a wiring diagram from Seymour Duncan and soldered all the electrical parts of my bass.

I glued two wood blocks for the screws of the pick up. I predrilled a few pilot holes using my rotary tool and Screwed the pick up in place.

I cut a small plywood piece on my bandsaw, to act as a cover for the electrical parts pocket.

I screwed it in place after making a few counter sinked holes on my drill press.

I made the holes for the tuning pegs and screwed them in place.

I also added two rings to act as string guides.

I used my rotary tool and a cutting disk to cut a piece of metal for the bridge.  I used a file to clean it up. I rounded it over using a metal rod as a guide and a hammer to shape it.

On my drill press I made the holes for the strings. I screwed the bridge in place.

I cut a piece of bone on the bandsaw and filed two slots. That’s how I made the nut and the bridge bone.

I cut a wood piece on the bandsaw to act as a bridge.

I used an online fret calculator and measured the positions of my frets. Since I wanted to make a fretless instrument I just used my wood burner to mark the fret positions.

My base is now ready. It is played in a vertical position, just like a contrabass.


I hope you like it.

Thursday, March 3, 2016

How to make a super easy DIY upcycled desk lamp


I wanted to  make a beginner DIY project. I wanted to use limited tools.  For this project you will only need a hand saw, a miter box and a drill as primary tools.

First of all I cut a piece of wood to size using my handsaw and a miter box.

To make the base of the lamp, I glued two small blocks of wood, using wood glue and spring clamps.

I then cut the rest of the wood in half.

I used one piece of wood as a ruler to mark the drilling holes using my owl.

I used a 6mm drill bit to drill the holes.

The base of the lamp connects with the body through a metal dowel that is attached to the main body of the lamp. I used a hacksaw and my vise to cut the dowel.

I used a 90 degree straight edge as a guide and tried to drill the hole for the metal rod as straight as possible to the end grain of the wood.

I mixed to part epoxy and glued the metal rod in the hole.

I made a few holes in the base of the lamp.

I added double sided  carpet tape to a piece of wood. I glued sand paper on it to make a custom sanding block.

I gave all the wood parts a sanding using 100grit sandpaper.

I added two threaded rings for the cable to pass through.

I connected all the parts using washers, butterfly nuts and bolts.

I also connected the cable with a screw driver.

I upcycled the hat of an old desk lamp and the clamp that is used to attach it on the desk.


I hope you like it.