Friday, January 27, 2017

How I made an India inspired tambur


I made this instrument out of a piece of niangon wood, spruce for the top and nails that act as moving frets.

It’s design combines elements of eastern Mediterranean tambura and the Indian sitar. It has moving steel frets like a sitar and also a sitar-like bridge that give a unique buzzing sound to the strings.

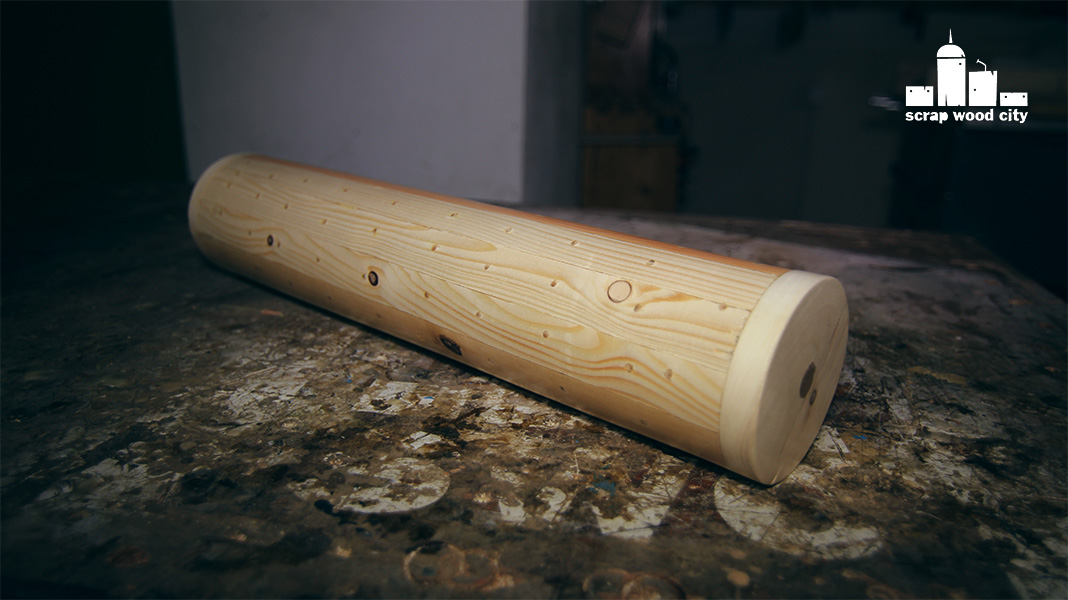
I do not have a thickness planer so I used my router and a special jig to flatten both sides of my stock.

I then designed the basic shape of my instrument.

I started hollowing the body using a V chisel and carving gouges. This is a slow process, so I used the router to remove most of the material and then finished the job with hand tools.

I moved on to the bandsaw to cut the outer shape of the piece.

To clean up the bandsaw marks I used my no1 rasp and then moved to a finer no2. Lastly I sanded the surface.

I rough shaped the neck with my draw knife. I moved to a spokeshave and finished the job with rasps and sand paper.

I cut two wooden rails on my table saw and glued them on the fret board.

On a piece of spruce with really tight grain I traced the shape of the body and cut it out on the bandsaw.

I created a sound hole with my scroll saw.

I glued a brace under the top and carved it to shape with a sharp chisel.

I glued the top in place and then trimmed it flush with my spokeshave and a small knife.

I sanded the top really thin.

I finished the piece with water based clear satin varnish. I applied 4 coats with light sanding between them.

I’ve installed all the metal parts of the instrument, besides the frets. 

I made the nut and the bridge. Most of their shaping was made on the disc sander. The bridge is similar to a sitar bridge. I made it out of niangon and a thin metal sheet piece. I glued all the parts of the bridge with super glue.

With a small V shaped file I opened up the groves that support the strings.

I made the frets out of thick nails. I cut them to size with my rotary tool and a cutting disc. I also created a groove on one of their ends. 

I used a red string to secure the frets in place. I used the technique used to tighten the sitar frets. I should have used a thinner string though. 

Using a tuner I moved the frets to their right positions.

My instrument was now ready. 

I hope you like it.

Wednesday, January 18, 2017

DIY rainstick on the lathe, out of pallet wood


This musical instrument kind of mimics the sound of rain drops falling.

It is actually a wooden tube with bamboo sticks in it. It is also filled with rice. When  the rice falls it gets slowed down by the sticks and a rainy sound is produced. People used to make these from cactus. They turned the nails of the cactus inside out and filled the tube with small rocks or seeds.

I made my rainstick out of pallet wood. I used a jigsaw to remove the wood boards from the pallet.

I then used my jointing jig, to straighten one edge of my pallet boards one the table saw.

The main cylinder is made out of 12 segments. This means that the boards need to have a 15 degree bevel on each side. I created that bevel on the table saw.

I then glued the pieces of the cylinder together using blue masking tape to clamp them.

I also glued two boards together. This gave me enough material to cut out two circles for the cylinder’s caps. I cut them out on the bandsaw.

After the glue dried, I trimmed  the cylinder to size on my table saw, using my cross cut sled.

I flattened the caps and the cylinder’s edges on my disc sander.

I glued the caps to the cylinder.

I used a center finder, to find  the center of the caps.

I then screwed the face plate on the cylinder and mounted the whole piece on the lathe.

Using a spindle gouge I turned the cylinder round. I used a flat chisel to make the finishing cut.

I then sanded the piece with 100 grit sand paper.

I used a piece of cord and masking tape to mark a spiral around the cylinder. I then drilled holes for the bamboo sticks around the spiral.

I placed the bamboo sticks in place and added super glue. I flush trimmed  the sticks with a flush trim saw and then sanded the piece again moving from 100 to 320grit.

I filled the gaps using wood glue and sanding dust.

I drilled a hole on one cap to add the rice. I added the rice and then turned a plug on the lathe, which I then glued in the hole. I sanded the cap flush on my disc sander.

I then finished the piece with 3 coats of clear, satin water based varnish. I sanded between coats with 320grit sand paper.


I am really happy with the way the my rainstick came out, I hope you like it!

Wednesday, January 11, 2017

How to make a 2 string instrument from an oven pan ( panjo )


I made this instrument from an oven pan and spruce.

On a piece of 2x4 I designed the profile of the neck and cut it out on the bandsaw.

I used the disc sander, to shape the front of the neck.

I then marked the sizes of my round overs and started shaping the neck with my spoke shave.

I used a rasp to shape the areas that the spoke shave could not reach. For even more difficult areas, I used sand paper wrapped on a cylindrical marker.

I then used a center finder to mark the center of my pan.

I drilled a couple of holes. The pan is pretty hard steel, so I first drilled smaller holes and then opened them up with a step drill bit.

The neck is mounted on the pan with two large bolts. This technique is inspired by banjo making. In order for the neck to receive those bolts I drilled the holes.

I cut the bolts to size with my hacksaw.

I sanded the edge of the cut on my disc sander. I did that on the edges in a conical shape, in order for the nuts to get bolted on easily.

I then used 5 minute epoxy, to glue the bolts in the neck.

I drilled the holes for the tuning pegs.

I measured my scale at 58cm from nut to bridge, and used a fret calculator to find the exact positions of the frets.

I marked the positions of the frets with a pencil and used a saw and a miter box to cut the fret slots.

I then drilled the holes of the fret position guides. Two of them would act as pins to prevent the fretboard from slipping during the glue up.

For fret position inlays, I used bamboo sticks.

I trimmed the bamboo sticks flush, using my flush trim saw and a piece of paper to prevent the fretboard from getting damaged by the saw.

I then cut the fret wire to size and pushed the frets in place with a clamp and two stop blocks.

To secure the frets in place, I added two drops of super glue to their sides. 

I used my rotary tool, with a cutting disc to trim the frets to size. I then finished that job with a sanding block.

I used my wood burner to burn dots on the sides of the frets.

At this point I assembled the pieces of the instrument, that were ready.

Using my hack saw I cut a metal piece to act as string holder. I drill the holes needed and bended it to size on my vise by hammering it against a screw driver.

I added the tuning pegs, predrilled pilot holes and screwed the string guides in place.

Using the bandsaw and the disc sander, I made the nut and the bridge. I mounted both on the vise, and used a V shaped file, to open the slots for the strings.

My instrument was ready, I tuned both strings in A octaves.

I hope you like it!

Friday, January 6, 2017

How I made my first Pontian lyra ( kemenche )


This is a stringed bowed musical instrument coming from the Eastern Mediterranean,  particularly Greece, Iran, Turkey, Armenia, and regions of the Black Sea. The black sea is also called “Εύξεινος Πόντος”.

I begun this build from a spruce 2x4. For this part it is best to use hard tone woods. This is not a traditional build, so I used war ever I had around. 

I designed the basic shape of my lyra using a ruler and a divider. The body is hollow. I used my router with a straight bit to remove most of the material. I completed this process in three passes. I then used chisels and carving gouges to clean up the left overs.

I cut the basic shape on my bandsaw. 

I then used a rasp to shape the neck and round over difficult areas.

The top has to be made with soft wood like pine or spruce. I used three pieces of spruce with no knots and tight grain. I joined the pieces before glue up, using my hand plane against a 2x4 to keep it at 90 degrees while cutting.

I then cut the basic shape of the top on my band saw.

The top is arched. Like violin’s tops. I carve the inside using my carving gouges. I used a goose scraper to clean up the left overs. I shaped the outer side of the top with my block plane.

Under the top I added a bass brace. This is used in violins but I thought I should try it on this build as well. It also adds strength to the top.

I traced the curve of the top, using a washer and a marker. I cut the basic shape on the bandsaw and fine tuned it to fit the top with my block plane. I then glued the brace to the top.

With a razor sharp chisel I carved the the bass brace to it’s final shape.

I then glued the top to the body of the instrument.

To trim the top flush to the body, I used my block plane, a chisel, my disc sander and finally a sanding block.

To make the fingerboard, I cut two spruce pieces to size on my table saw, using my cross cut sled. I glued them together, cut an angle on the bandsaw, and sanded it flat on my disc sander. I finished shaping it with my block plane and the bandsaw. I also rounded the fingerboard with my hand plane.

I drilled the sound holes of the instrument.

Using a knife I cut out the S shaped sound holes.

I then glued the fingerboard to the neck.

I drilled the holes for the keys.

I applied spray varnish to the hole instrument. I applied around 8 coats of varnish while light sanding between coats.

I screwed the keys in place. To prevent wood splitting I predrilled the holes.

I shaped the top nut on my disc sander and used a V shaped file to open grooves for the strings.

I shaped the tailpiece on the disc sander. The tailpiece, the bridge and the nut were made out of hard wood. I drilled the holes needed on the drill press and added thee rivets for the strings. I added a drop of super glue to keep them in place.

I predrilled a pilot hole to receive the end pin. I screwed the end pin in place. The tailpiece is hold in place from the end pin with a cord.

To match the curve of the bridge, with the curve of the finger board I used a pencil against the finger board.

I cut the bridge in my bandsaw, shaped it on the disc sander and opened grooves for the strings with a small V shaped file.

At this point my instrument was ready. Please note that this is not the traditional way ( or materials ) to make a kemenche. This is just the way I did it.

I hope you enjoyed this build as much as I did!