Friday, September 10, 2021

Rotten burl from another planet


Tools and materials I propose:

Hot glue gun

Lathe

Wood turning tools set

Chuck kit

Vacuum chamber kit

Block plane

Flexcut starter carving set

Resin colors

Buffing kit

Micro mesh sanding pads


In this video I use a rotten burl from an unknown (to me) type of tree. I think that these fragile wood pieces hide a lot of beauty and resin can help a lot to preserve it. So I made a resin and wood blank and turned it on the lathe. I hope you like the result. 


I spotted this burl on a tee in my neighbourhood. Once I touched it I realised I could remove it by hand. So I took it to make something out of it.


I first flattened one side on the belt sander. 


Next I made a mold out of an old Ice cream box and a piece of plywood. I hot glued the mold on the plywood and I used a drop of silicone to seal it from leaks. To prevent it from floating in the resin I used rubber bands and a scrap wood piece. 


I then mixed some epoxy resin and added some orange transparent dye. 


I poured the resin into the mold and de-gassed in the vacuum chamber. 


Once the resin was cured, I de-moulded it and found the centre of the plywood piece. I drew a few circles to help me align the piece on the glue chuck. I then epoxied the hole piece on the glue chuck. 


Using plywood wasn’t the best choice. Plywood is really hard on woodturning tools. But that’s what I had. 


I turned my piece true using a bowl gouge and a round nose scrapper. I also used a parting tool. 


I sanded dry from 100 to 300. Then I started wet sanding using mineral oil from 400 to 1000. I then started polishing with my micro mesh sanding pads. 


Next I parted the piece off the lathe and turned it around using my bowl bottom cleaning jaws. Same stuff again, scrapping sanding and polishing.


Finally I buffed the piece with my buffing wheel and carnauba wax. 


Last but not least I made a base out of basswood. I cut the piece on the table saw and hand carved it give it some texture. I painted it black with water based stain. 


And my little burl was ready. I really like looking at these strange beautiful shapes nature creates. But that was it. See you soon with a new project video. 


Disclosure: Some of the links below are affiliate links, meaning, that at no cost to you, I get a small commission if you click through and make a purchase.

Friday, September 3, 2021

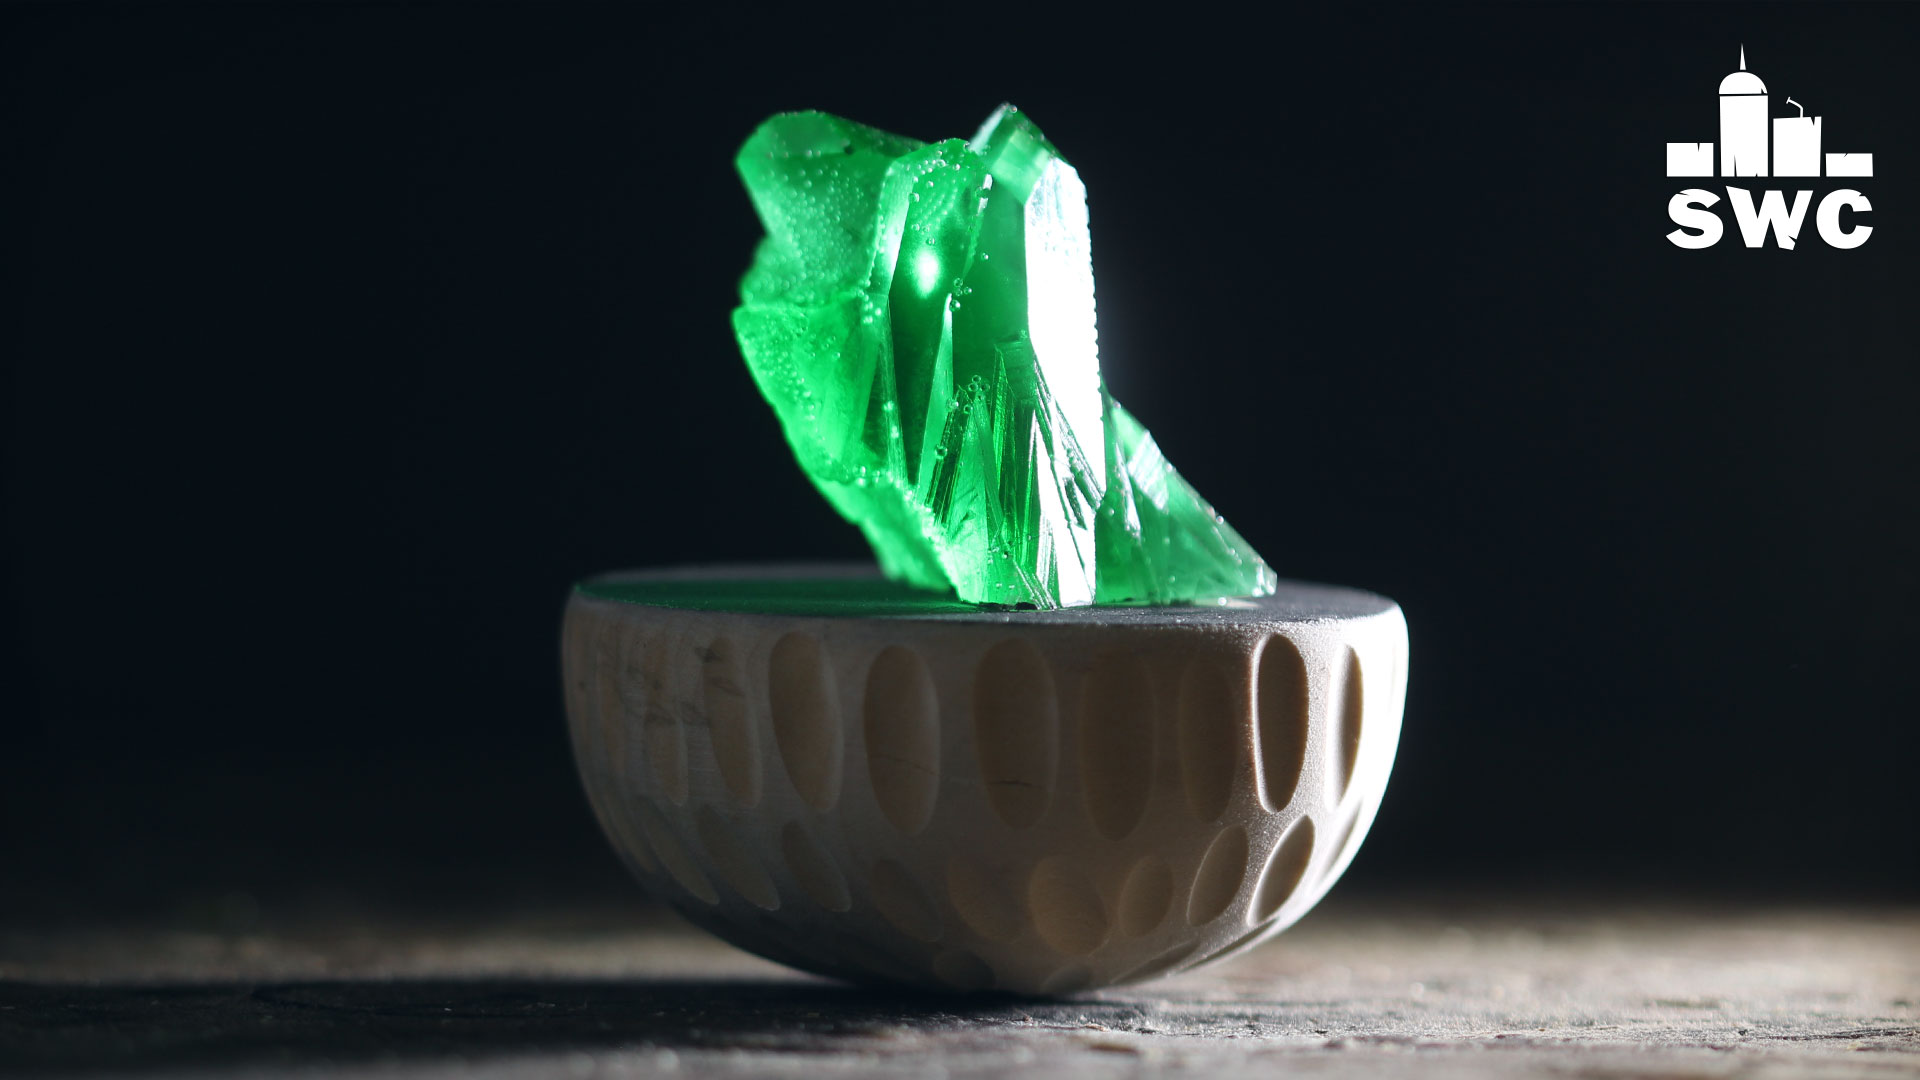
How to make Kryptonite


Tools and materials I propose:

Hot glue gun

Silicone rubber mold

Lathe

Wood turning tools set

Chuck kit

Vacuum chamber kit

Block plane

Flexcut starter carving set

Resin colors


In this video I used a real quartz crystal to make a silicone rubber mold. Then I poured epoxy resin to make an exact duplicate. I then turned a base out of basswood, to place my little epoxy rock.


I used a plastic container from yogurt in which I hot glued the quartz rock. I then prepared some silicone rubber in which I added a drop of red pigment. I then poured the rubber into the mold and de-gassed in the vacuum chamber. 


Next I cut the mold open to remove the crystal. 


I then prepared some epoxy resin which I dyed transparent green. 


I first degassed the resin itself and then poured it into the mold. I de-gassed again. I should insist on de-gassing more because I still got a few bubbles in the final cast. 


I flattened the bottom of the crystal on the belt sander. Then I turned a base on the lathe out of basswood. I carved some decoration on it. 


I epoxied the crystal on the base and painted the upper part of the base with latex paint. 


And my little fake crystal was ready. I hope you  liked my little Kryptonite project, but that was it. See you soon with a new project video.


Disclosure: Some of the links below are affiliate links, meaning, that at no cost to you, I get a small commission if you click through and make a purchase.

Saturday, August 28, 2021

How to make a simple DIY bird door knocker


Tools and materials I propose:

Miter box

Hand saw

Chisel set

Flat file

Spoke shave

Block plane

Belt sander

hacksaw

Spoon carving knives

Cordless drill

Countersink bits

Lathe

Cordless Impact Driver

Wood turning tools set


In this video I make a simple but fun bird door knocker out of spruce wood. You can make it easily with a few basic tools. 


First of all I made a rough prototype to see if the whole thing worked.


I then cut my lumber to length using a hand saw and a miter box. 


I wanted to remove a little bit of material from the sides and I used my block plane for that. 


Then I designed the bird shape. To cut it you can use a bandsaw, a scroll saw, a fret saw. I used a hand saw and a chisel. I then used the spokeshave, a file and sand paper to refine it. When ever I could, I used the belt sander. 


I then drilled a few necessary holes.


I shaped the sides and all the pieces and then drilled the holes needed. I predrilled pilot holes and screwed the side pieces in place. 


I made a small wooden ball on the lathe but you can buy a ready made one. 


I then used my carving knife to shape the birds back a little bit more. 


After I sanded everything I painted the bird with latex paint. I applied two coats from each colour. 


As an axle I used a nail which I cut to size and epoxied it in place. 


I added the string and my little bird was ready. 


I am really happy with the way it came out. But that was it. See you soon with a new project video. 


Disclosure: Some of the links below are affiliate links, meaning, that at no cost to you, I get a small commission if you click through and make a purchase.

Saturday, July 31, 2021

Woodturning a wooden bell


Tools and materials I propose:

Lathe

Buffing kit

Wood turning tools set

Chuck kit

Tormek T8 Sharpening System

Tormek Woodturner’s Kit


In this video I make a small bell out of pixari. Unfortunately I don't know it's name in English. It's a really hard yellow wood. 


I begun by turning the piece true on the lathe.


I like to clean the end grain with a bowl gouge. 


Then I drilled an entry hole and started hollowing the end grain with my hook tool. It’s a similar process to making a goblet.


Once I finished with the bell I turned the handle. 


I cut the bell off and buffed it on the buffing wheel using carnauba wax. 


I then used a skew to turn a small tongue for the bell. 


I then connected the bell with the tongue and my little bell was ready.


It does not have the resonance of a metal bell but it works really nicely.


But that was it. See you soon with a new project video.


Disclosure: Some of the links below are affiliate links, meaning, that at no cost to you, I get a small commission if you click through and make a purchase.

Friday, July 23, 2021

Woodcarving a leaf bowl out of basswood


Tools and materials I propose:

Bandsaw

Tormek T8 Sharpening System

No4 hand plane

Mineral oil

PROXXON Longneck Angle Grinder

Cabinet Scraper set

Flexcut starter carving set

PFEIL Carving Set

Flat rasp

Round rasp

Flat file

Round file

Spoon carving knives


In this video I carve a wood bowl out of basswood. I used mostly hand tools. I also used a few power carving tools in some situations.


I begun by drawing the basic shape of my bowl. 


I then started removing material with a gouge. 


Once I was deep enough I used my small grinder with a rasp disc to even the surface. 


I then used a goose neck scraper to smooth the surface even more. 


Then I cut the outer shape on the bandsaw. 


I started shaping with gouges and my small grinder. 


At this point I decided the interior needed more work. This time I used my spoon carving knife to reach a few difficult spots. 


Once I was happy I used files, the grinder, sand paper and scrapers to smooth everything up. 


I flattened the base on my jointer and I finished the bowl with mineral oil.


I didn’t smooth everything completely. I kind of like the hand tools texture but you can sand it to shine if you like. 


It was a really interesting project, but that was it. See you soon with a new project video. 


Disclosure: Some of the links below are affiliate links, meaning, that at no cost to you, I get a small commission if you click through and make a purchase.

Saturday, July 17, 2021

How to make a DIY mini axe from an old saw blade


Tools and materials I propose:

Stick welder

Grinder / belt sander

Tormek T8 Sharpening System

Angle grinder

Metal cutting discs

Lathe

Wood turning tools set

Mineral oil

Wire Burning Kit

Bandsaw


In this video I make a small axe out of an old table saw blade. I also turned a mahogany handle for it, on the lathe. 


I begun by cutting the shape of the axe using my grinder. 


I then used my stick welder to weld the blade with a piece of metal pipe. 


I then cleaned the welds with my small grinder and my rotary tool.


After polishing the blade a little bit, I created the bevel on my bench grinder. I did the final sharpening on my Tormek T8. 


I then turned the handle out of a piece of mahogany. 


I then connected the blade with the handle. I used a small wedge to keep things really tight.


I finished the handle with mineral oil.


My little axe was ready at this point. You can certainly use it for small jobs but I think I will keep it as a decorative piece.


But that was it. See you soon with a new project video. 


Disclosure: Some of the links below are affiliate links, meaning, that at no cost to you, I get a small commission if you click through and make a purchase.