


Tools and materials:
Tune-o-matic Bridge & Tailpiece
In this video I complete the making of the DIY V shaped electric guitar I started on the previous video.
Special thanks to:
a.) stewmac for the online fret calculator: https://www.stewmac.com/fret-calculator/
b.) www.seymourduncan.com for the wiring diagrams
Both sites are really helpful and I am really grateful for the info they provide.
At this point I started making the cavities for the electronics. I used my router, chisels and forstner bits for the job.
I then drilled the holes on the pickguard and installed the bridge. The bridge has some metal inserts but I didn’t have any so I placed it straight in the wood. Although this was not the proper way to do it.
I then did some fine tunings on the pickguard and polished it.
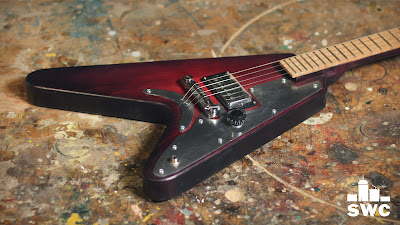
I coloured the guitar with water based dye. I first applied the red coat. Then I added the black. I used a wet rag to create the gradient effect ( sunburst ). I then finished the body with clear water based varnish.
At this point I started shaping the neck with rasps, files and a spokeshave.
I made the fretboard. My scale was 443mm from nut to nut. I used an online fret calculator to measure my fret positions.
While the fretboard glue was drying I did all the soldering stuff.
I trimmed the fretboard flush and started installing the frets. I trimmed them flush with a file and added a drop of glue from the sides. Then I levelled the frets and polished them.
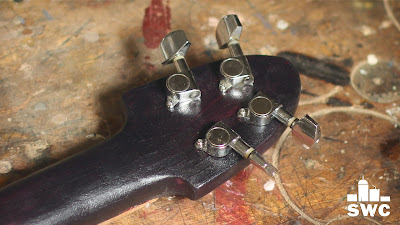
Finally I made the nut and bridge. And added the strings.
My little guitar was ready. It was a ton of fun to make. But that was it, see you soon with a new project video.
Disclosure: Some of the links below are affiliate links, meaning, that at no cost to you, I get a small commission if you click through and make a purchase.
No comments:
Post a Comment