


Tools and materials I propose:
Table LegsBirch Edge Banding
Bandsaw
Table saw
Cordless drill
Speed square
Belt sander
Block plane
Masking tape
Dowel center pin
6mm dowels
Heat gun
Air compressor, nail and staple gun kit
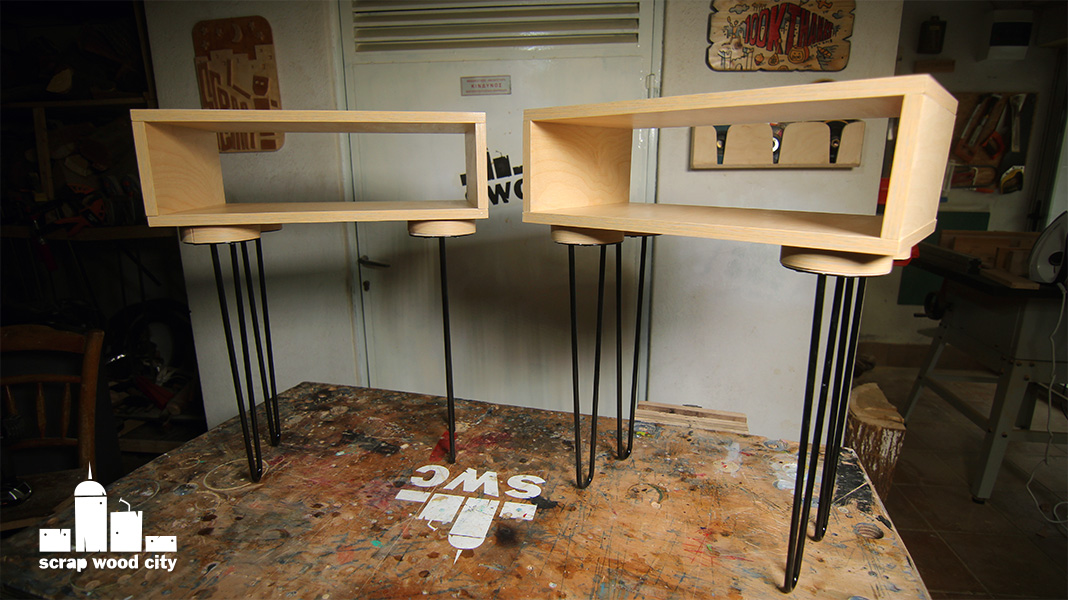
I wanted to make a couple of simple bed side tables.
This project was also a good excuse for me, to practice edge banding.
I used 15mm plywood pieces for most parts. The legs have also 25mm plywood discs.
I bought my lumber cut roughly to size. I then cut the rest to final size on my table saw.
Then it was time to edge band some edges in order to hide the classic pattern on the sides of plywood.
Edge banding is basically a tape. On it’s front it has a wood pattern and on it’s back it has adhesive which melts with heat.
For the plywood I got, the closest grain match was oak. So I got some oak edge banding.
First of all I marked all the sides I wanted to edge band. An iron works best for this technique but I couldn’t find one in the beginning of the project. So I used my heat gun instead. I first heated underneath the tape a little and then placed the banding on the edge. Then I heated some more and used a flat piece to press on the wood. Fortunately I got an iron at some point and I secured the banding in place.
Once the banding is glued, you can use a razor or a hand plane to trim it flush. You can also use a trim router for this job.
I wanted to join all my pieces with 6mm dowels. So first I made a simple jig which is clamped on my vise and helps me align the pieces easier. I then made my first holes and then used my dowel center pins and the jig to create marks for the matching holes. Once I was done with all the drilling I glued everything together. I like to clean the glue squeeze outs with a wet rag.
At this point I filled some imperfections of the wood with wood filler. On this project I wanted the grain of the wood parallel to the sides. So the lumber yard guy had to do some cross cuts on the plywood. This created some tear out.
I then lightly sanded the pieces and applied three coats of clear water based satin varnish. I used my heat gun to speed up the drying process and I lightly sanded between coats.
I then had to cut 8 discs out of 25mm plywood. These provided me with enough mass, so I could screw the legs in place. I cut them on the bandsaw and then sanded them on the belt sander.
I covered the discs with some edge banding as well. This didn’t work so great but it did it’s job.
To help me easily align the discs I made another jig. I then glued and nailed the discs in place. I then predrilled pilot holes and screwed the legs in place.
And basically I was done. The legs were a little bit expensive but I think they add some elegance to the pieces.
I am really happy with the way my simple side tables came out.
But that was it, see you soon with a new project video!
Disclosure: Some of the links below are affiliate links, meaning, that at no cost to you, I get a small commission if you click through and make a purchase.
No comments:
Post a Comment