Thursday, September 29, 2022

Woodturning and wood carving a spiralling candle holder


Tools and materials I propose:

Lathe

Wood turning tools set

Chuck kit

Tormek T8 Sharpening System

Tormek Woodturner’s Kit

PROXXON Longneck Angle Grinder

Foredom Woodcarving Kit

Forstner bit set


In this video I make this spiralling form out of poplar. 


I begun by trueing the piece between centres and then I turned a tenon for the chuck.


After shaping the exterior form with a bowl gouge I drilled the interior with a forstner bit. 


I then used my dividing set up and marked my spirals. 


I started removing material with my carving grinder. 


I then used a v shaped rasp bit on my rotary tool to finish shaping. 


Then using my sanding blocks I sanded the piece. 


After parting the piece off the lathe I carved the bottom with three legs. 


Finally I applied a coat of mineral oil.


I am very happy with the result, but that was it. See you soon with a new project video.


Disclosure: Some of the links below are affiliate links, meaning, that at no cost to you, I get a small commission if you click through and make a purchase.

Thursday, September 22, 2022

Woodturning an epoxy resin and wood ring holder


Tools and materials I propose:

Lathe

Wood turning tools set

Chuck kit

Vacuum chamber kit

Resin colors

Buffing kit

Micro mesh sanding pads

Bandsaw

Tormek T8 Sharpening System

Tormek Woodturner’s Kit


In this video I used a really old dry piece of wood and epoxy to make a hybrid blank. Then I turned it into a ring holder.


I begun by cutting the wood to size on the table saw. I then cut the curved parts on the bandsaw. 


I prepared my mold by hot glueing the wood in place to prevent it from floating. I then filled my mold with resin and de-gassed it in the vacuum chamber. 


I then glued the blank on a scrap piece that fitted my chuck using 5 minute epoxy. 


I think with hybrid blanks carbide scrapers work best. 


After shaping my piece I sanded it until 300grit. After that I wet sanded with mineral oil until 1000grit. I then used the micro mesh polishing pads and the buffing wheel to achieve a mirror finish.


I then made a conical piece with the skew for the rings. I epoxied it in place and my ring holder was ready.


And that was it. See you soon with a new project video. 


Disclosure: Some of the links below are affiliate links, meaning, that at no cost to you, I get a small commission if you click through and make a purchase.

Friday, September 16, 2022

Woodturning a ballerina spinning top


Tools and materials I propose:

Lathe

Wood turning tools set

Chuck kit

Tormek T8 Sharpening System

Tormek Woodturner’s Kit

Buffing kit

Cordless drill

Alcohol based markers


In this video I make a different spinning top. It's a spinning top dancer out of poplar.


After turning the piece true on the lathe, I made a tenon for my chuck using the skew chisel. 


I then added the nail on the bottom of the top. 


I shaped the top with a bowl gouge and my skew. 


I added a coat of sanding sealer and then lightly sanded. I added color with alcohol based markers. 


I then buffed the piece with carnauba wax. 


Next I turned the arms and I attached them to the top.


My little ballerina came out really nice. But that was it. See you soon with a new project video.


Disclosure: Some of the links below are affiliate links, meaning, that at no cost to you, I get a small commission if you click through and make a purchase.

Thursday, September 8, 2022

Spiralling tear woodturning sculpture


Tools and materials I propose:

Lathe

Wood turning tools set

Chuck kit

Tormek T8 Sharpening System

Tormek Woodturner’s Kit

PROXXON Longneck Angle Grinder

Foredom Woodcarving Kit

Flexcut starter carving set


In this video I experimented with this spiralling form on the lathe. The wood I used is platani and had some kind of spalted texture.


I begun by turning the basic shape of my form. This was basically bowl gouge work. 


I then used my dividing system to divide my pieces in segments. This way I could easily draw the spirals. 


I then started remove material with my carving grinder and my rotary tool. 


I then carved my shape with more detail and sanded it. 


I also carved four legs on the bottom.


I finished the piece with mineral oil. 


And that was it. See you soon with a new project video. 


Disclosure: Some of the links below are affiliate links, meaning, that at no cost to you, I get a small commission if you click through and make a purchase.

Thursday, September 1, 2022

How to make a skamnaki mini stool


Tools and materials:

Table saw

Cordless Impact Driver

Cordless drill

Random orbit sander

Spoke shave

Chisel set

Jointer planer

Bandsaw

Belt sander

Tormek T8 Sharpening System

Chisel set

Dowel center pin

Drill press

Air compressor, nail and staple gun kit


In this video I make a skamnaki. This is how we call this mini stools in Greece. I made it out of scrap pieces of spruce.


First of all I cleaned my material on the table saw. 


I then glued a few boars to make some panels. 


I then used my planer and the table saw to square them up and cut them to size. 


I used the bandsaw to round over the corners of the top. 


I made most of the joints on the tables saw. 


I then glued and nailed the bottom pieces together.


To glue the top I used dowel joinery. 


I rounded over the edges of the top with a spokeshave. 


Finally I glued and sanded everything.


I painted the legs like I did on the first one I made some time ago. 


Finally I finished it with a clear water based varnish. 


And my little stool was ready. But that was it. See you soon with a new project video. 


Disclosure: Some of the links below are affiliate links, meaning, that at no cost to you, I get a small commission if you click through and make a purchase.

Friday, July 29, 2022

How to turn a bowl without a chuck


Tools and materials I propose:

Lathe

Wood turning tools set

Chuck kit

Tormek T8 Sharpening System

Tormek Woodturner’s Kit

Flexcut starter carving set


In this video I use the technique of a jam chuck to turn a deep bowl. This is a simple method of turning a bowl without a chuck. In the video I used poplar wood and went for a shape close to a noodle bowl.


I first turned the exterior of the bowl between centres using mostly the bowl gouge. 


At the bottom of the bowl I made a tenon that had a slight taper about 1 degree. 


To make the jam chuck I mounted a piece on a face plate and turned it true. Using a spindle gouge I hollowed it. I made the hole slightly tapered again. I made it so the tenon of the bowl fit snuggly. 


I then pushed the bowl in the jam chuck. I used the centre mark on the front to push the tailstock straight. This way it fit nice and straight in the chuck. 


Then I started hollowing with the bowl gouge. 


To clean the bottom I shaped  a cone on the jam chuck. Then I pushed the bottom of the bowl against the tailstock in order to mount it straight again. With a spindle gouge I shaped the bottom. I left a small piece which i removed with a carving gouge. With the bottom concave bowls sit nicely on flat surfaces. 


And my little bowl was ready. It is really useful to be able to make and use a jam chuck. But that was it. See you soon with a new project video.


Disclosure: Some of the links below are affiliate links, meaning, that at no cost to you, I get a small commission if you click through and make a purchase.

Thursday, July 21, 2022

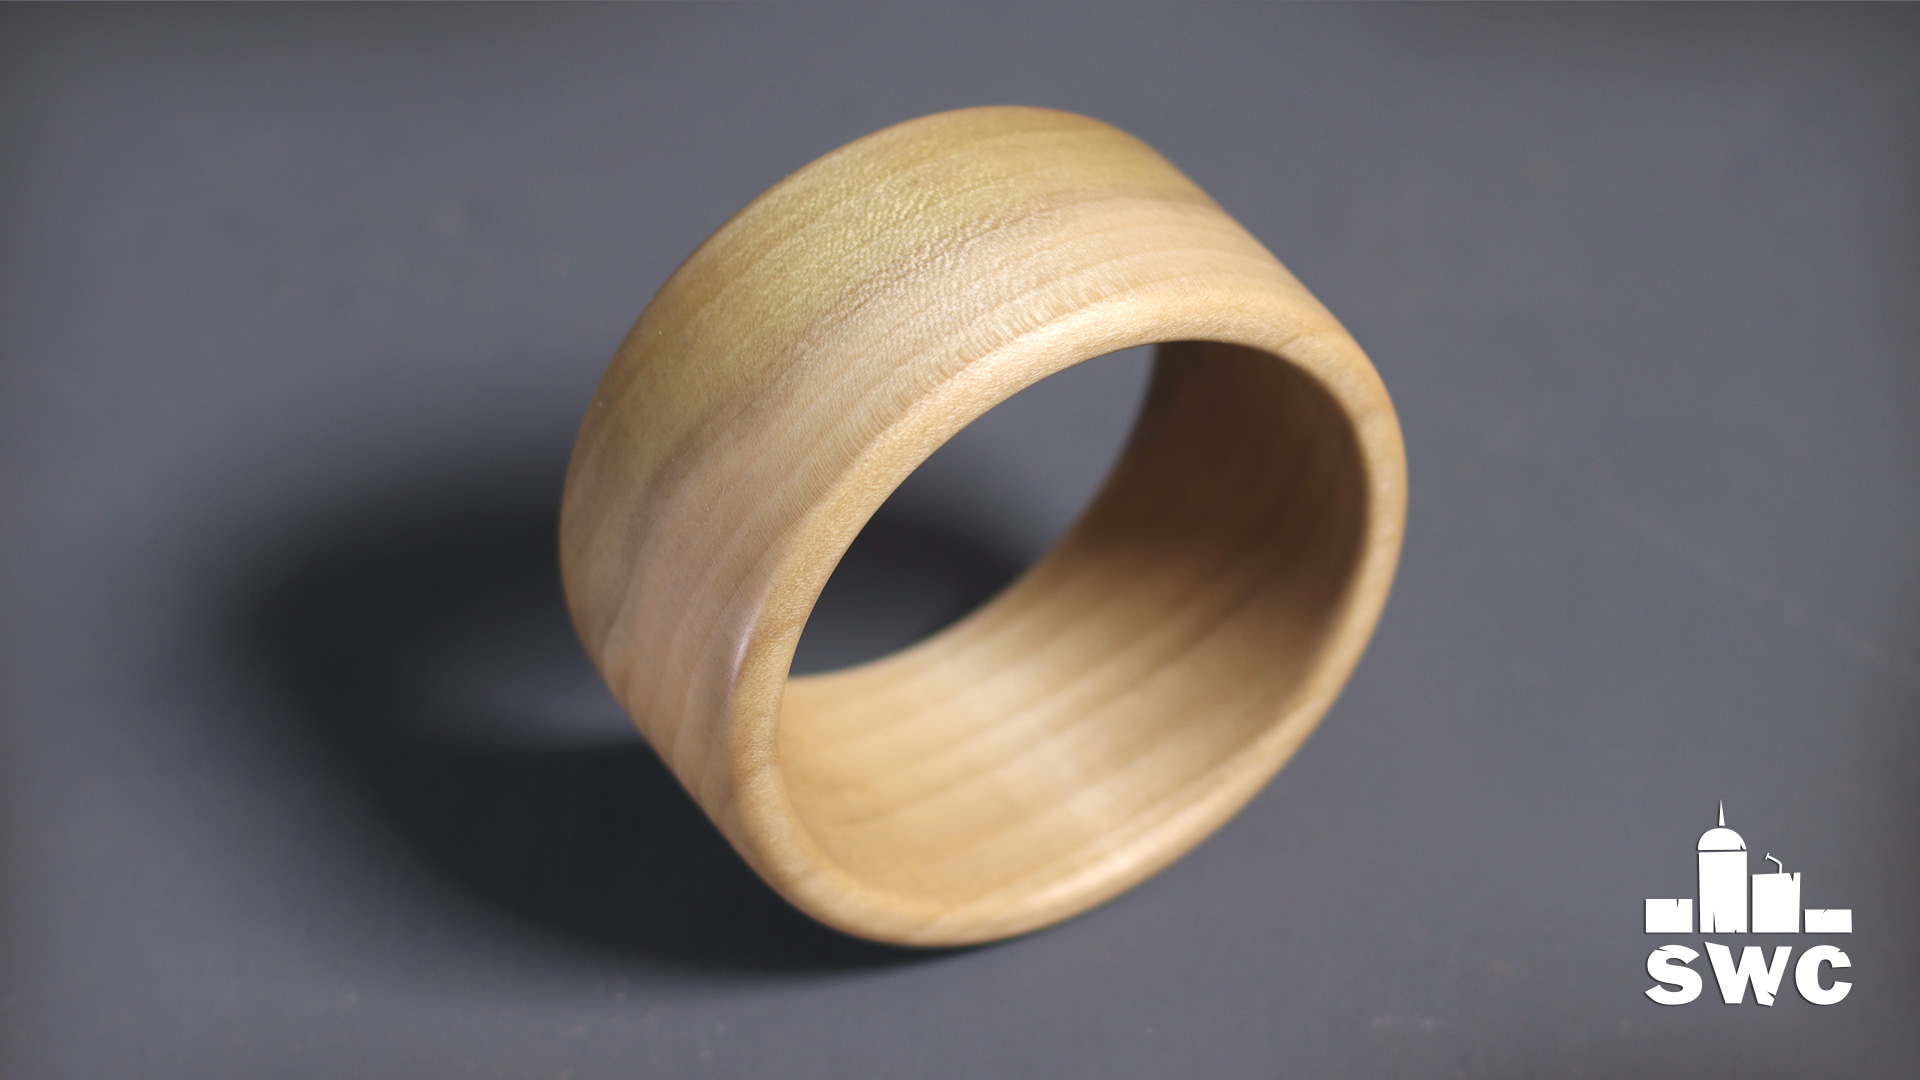
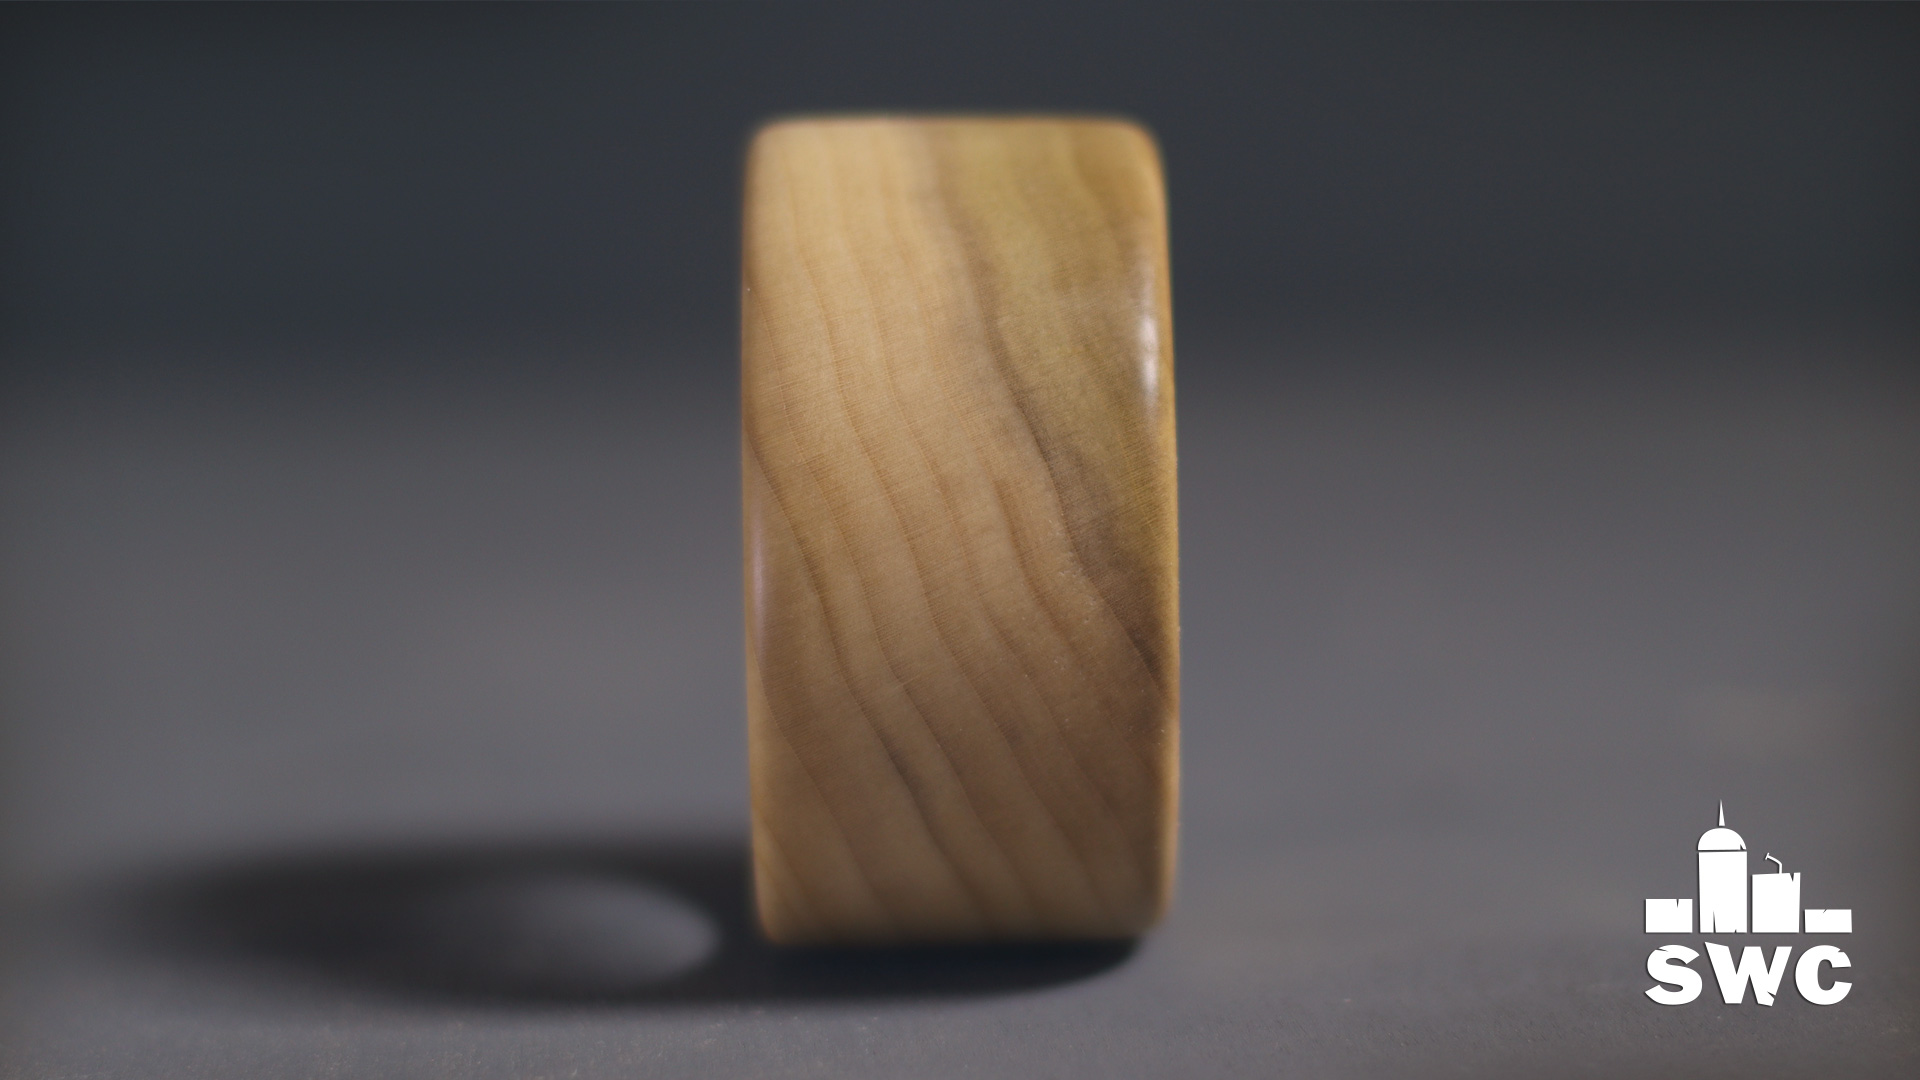
How to make a wooden bracelet - Woodturning


Tools and materials I propose:

Lathe

Wood turning tools set

Chuck kit

Tormek T8 Sharpening System

Tormek Woodturner’s Kit

Bandsaw

Buffing kit

Compass Circle Cutter


In this video I show you my method of making wooden bracelets on the lathe.


I begun by making a paper template using a compass cutter. 


I then roughly cut my blank on the bandsaw. 


After turning the blank between centres I created a tenon for my chuck. 


I then chucked the piece and started hollowing it with a bowl gouge. 


You can use bowl gouges all the way. But I like to use the hook tool to clean the bottom. 


After sanding the piece I parted it off. 


With the wood that remained on the chuck I made a cone which I will use later on the process. 


Using another scrap piece I made a jam chuck. The tenon on the chuck was slightly tapered at one degree or maybe a hair less. 


Next I centred the cone on  my tailstock and then I pushed it against the bracelet to fit it on the jam chuck as centered as possible. 


Now, I can easily sand and shape the other side of the bracelet. 


Once I finished sanding I buffed the piece on the wheel with carnauba wax.


And that was it. My bracelet was ready. It’s an easy project if you follow the right steps. See you soon with a new project video. 


Disclosure: Some of the links below are affiliate links, meaning, that at no cost to you, I get a small commission if you click through and make a purchase.