In this part I install the metal parts of the beehive and I also make the wooden frames.
First of all I pre-drilled pilot holes, countersinked them and added screws to all the finger joints.
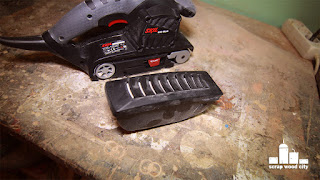
I then sanded all the pieces. I also added wood filler to a few holes and sanded it flush with my belt sander.
I clamped a metal sheet (0,3mm thick) on my bench, scored it with an exacto knife and then moved it back and forth to cut metal stripes.
I used my sheet metal bending jig to make the parts on which the wooden frames of the hive rest upon. I secured them in place using my compressed air staple gun.
To all the ventilation holes I cut pieces of perforated metal with my scissors and secured them in place with my staple gun.
I used similar bending techniques, to cut and bend the metal sheet for the top of the hive. I secured it in place with my staple gun and added screws to it’s corners.
Now to make the frames, I used an old frame as reference for my measurements.
I adjusted the fence of my table saw and cut all the pieces to size. For the cross cuts I used my cross cut sled.
The pieces of the frames are joined with dado and finger joints. I made those on the cross cut sled using several stop blocks to make the cuts I needed.
When possible I made the same cut to more than one pieces with one pass.
I used the bandsaw to make the curved cuts on the frames.
I used my scraper and my belt sander to fine tune the sides of the frames.
I drilled the holes on the sides of the frames, using my drill press.
I glued all the pieces and added a couple of nails for extra strength.
A small wire will pass through the holes of the frames. To prevent the wood from being hurt from the wire, I added a few metal protectors.
I screwed the latches of the top and bottom in place and my beehive is now ready.


