Wednesday, July 16, 2014

Sketch on scrap piece of plywood


A scketch burned on a scrap piece of plywood with my pyrographer.  It depicts some kind of a hallf human half serpent creature flying over a city under a hole in the sky. Sometimes imagination can be play really funny games with you.

Tuesday, July 15, 2014

Make a wooden glass and bottle holder


I made my holder out of a board I had from an old clothes hanger.

First of all I take my measurements based on a standard bottle and glasses. I'm gonna drill the holes with my multiple diameter hole saw bit. I use my caliper to find which bit fits where.


I cut the piece to size with my saw and I drill the holes on my drill press.


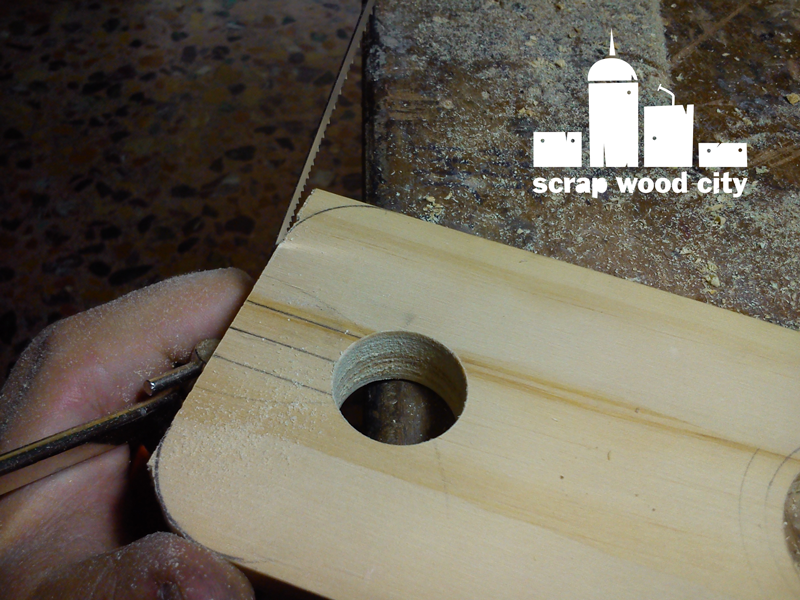
I make the rest of the cuts with my scroll saw and I round over the edges with my block plane.


After sanding the piece is ready for a drink! 

Spongebob pencil holder


The story begins with a scrap cubic block of spruce. 

Roughly sketch bobs face with a pencil and mark the holes that the pencils are gonna fit in.

Now go to your drill press and drill those holes. It's better to start with a smaller bit and gradually increase your bit's size until the holes are OK for you. You can use tape on the drill bit so you drill all the holes at the same depth.


Now sand the piece smooth and start painting. I've used acrylic paint. Start with the lighter colors and continue to the darker ones. This way the darker colors will cover any missed spots.


After paint I apply a few coats of water based satin clear lacquer while sanding between coats with 600 grit sandpaper.  That's it, Bob is ready!

Make a bandsaw style box without a bandsaw


It all started with a piece of pine log I had.

I cut a piece of the log by eye.

Then I remove the bark of the wood. First I used a chisel to remove big chunks. Then I scraped some bark with a knife and lastly I used my block plane to smoothly remove the last bits of bark.


I cut the bottom and top cap from my clean log using a saw. To do that I clamp the piece on my bench.

Then I cut the the cylinder that remained in half to be able to hollow it easily.


Here comes the trickiest part of the project. To hollow the inside of the box, I traced the line I want to cut, clamped the piece on my bench and used my scroll saw to cut out the inside really really slow. This is the part that a bandsaw would be really helpful. This is a test my little scroll saw blade.


 Time to glue the body o the box. I used some scrap pieces of plywood to avoid clamp marks.

I used my scroll saw to  cut a lip for the boxe's top.

 Time to glue the top to it's lip and the bottom to the body.


I decided to add dowels to the top which fit to holes on the body, so that the box will close tight.

I also added a few dowels to the bottom to increase it's strength. After the glue dried I trim flush the dowels with a flexible flush saw.


I trimmed flush the side with the top with a chisel.

I finish the piece with water based wood stain in the color of Oregon pine. I applied two coats and light sanded between them. I applied the stain along the grain.

For a video of a similar project go here.

Monday, July 14, 2014

Table with log legs remastered


This a table that my grandfather made many years ago with scrap pieces of wood and a piece of log. I thought that the concept of converting the tree branches into table legs was a great idea. So I decided to remake the table keeping the original concept and legs. 

Here's how the table looked in the first place.

First of all I disassemble the table. The top was mounted on a flange and the flange was mounted on the legs with screws. I will keep that mounting technique. Here's the original flange and top.


I decided to skin the tree, because it was starting to fall apart.

After scraping I've rounded all the edges with a chisel and sanded the piece.

In the center of the log there was a gap. It seemed like the tree wasn't completely dry when it was converted into a table. So I filled the inside as much as I could with glue and saw dust. I don't know if this technique is OK but it seemed right and it gave a little more weight to the log.


Now lets see how the top was made. I used a piece of spruce for the top and the flange. I cut the top with my jigsaw.


I cut the flange with my scroll saw. I've also chiseled out a mortise in the flange for the legs to fit in. Unfortunately I do not have a picture of this procedure.

I made pilot holes on everything and glued and screwed the top to the flange and the flange to the legs. 
 
Then I sanded everything smooth and applied three coats of water based wood stain in walnut color. Then I applied two coats of clear water based satin lacquer while light sanding between coats.